Sunday, 8 September 2013

Boudica's Final Battle

The weekend game saw us fight a historical battle between Boudica's Britons v Suetonius Paulinus Romans in what was to be Boudica's final battle fought somewhere in the East Midlands using the rules Hail Ceaser. The Brittons heavily out number the Roman forces. The British army consists of Iceni, Trinovantes, Catuvellauni and Corieltavi, represented by four war bands each with chariots and light cavalry and skimishers, the Romans have 3 divisions represented by  2 divisions of auxiliary troops and 1 division of Roman legionaries  represented by four units. I decided to take use of the Romans and my dad the Britons,the Roman objective was to break two of the four British War bands and the Britons had to break the Roman leigion. With the armies set up it looked very daunting been a Roman as the British army seemed massive in comparison, however there was a lot of ground to cover for the British so it was going to be hard for them to keep the army under control, well at least that was what I was hoping.....,,,,,,,

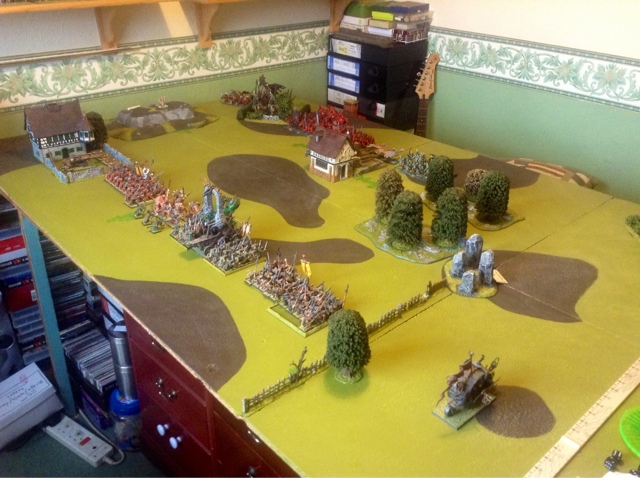
The Britons deployed ready to move forward on mass, the Roman legions are deployed on the hill flanked by the auxiliary troops.


After a few turns Boudica's chariots break the Auxiliary Medium cavalry  and start to Harass the Roman right flank. The Romans return fire power fails to make any impact.
 

The Britons battle line is very staggered, this was around turn four. On the right flank the command rolls were very poor, at one stage the War bands went back over as the result of a command blunder leaving Boudica's war bands and chariots well ahead of the advance. 
The Roman Auxiliary Cavalry on the Roman left flank pushed up to the middle of the table to take advantage of the war bands slow progress to further hamper their progress


The Roman Legions wait on the crest of the hill, their time to prove themselves in battle was approaching.


The British war bands slowly close the distance to the Roman army 


The British right flank just refused to move depriving my dad of some much needed fighting power.
The War band in the centre was also making very slow progress thanks to another blunder command roll, retreating back behind the hill...... I was beginning to think these Britons weren't to scary after all!


The Auxiliary medium cavalry and light cavalry ready to charge the British medium cavalry, easily winning when they charged


Boudica's Britons are almost in charge range, some stern resistance from the Roman archers held the chariots up for a while even breaking one unit in combat.


As the War bands crash into the Roman lines the archers are finally destroyed, however despite suffering heavy casualties the Auxiliary spearman break a war band driving them back own the hill, a bonus as my legions have not been scratched yet.
 

The Roman cavalry continue to disrupt the Britons right flank, although they were to be eventually broken they had done there job of slowing the Britons advance and keeping these war bands away from the more important legions on the hill  


The roman right flank is destroyed when the auxiliary spearman break, with there flank now threatened by the chariots and war bands a Roman Leigion reforms into a wedge and the other Leigion chargers into a war band supported by the slingers skirmishes and Suetonius himself.


The battle line as the real fighting finally starts, the Roman Leigonaires on the right flank were right in the thick of the action and fighting a desperate fight to repel the British War Bands.


Failing to break the Warband the Leigionaires are charged in the rear by the chariots who chased away the skirmishes and a the Briton commander joined in the fight. With odds stacked against them the Romans closed shields improving their save to +3, they suffered 9 hits in the combat but managed to save every last one of them, in return they destroyed the chariots and pushed the war band back who were very close to breaking!
  

Sensing their moment to break that division of war bands the Leigionaires charged from the hill and smashed into the Britons, routing the cavalry and making the war bands become shaken.


From this picture you can see how far behind one of the divisions of Britons had become, totally out of th fight where they were needed.


With time up the final position.


The Roman wedge is some what surprisingly repelled by the Warband suffering heavy casualties, but still the Ronan line is in a strong position, one of he war bands becomes shaken to.


After breaking the cavalry the British Warband is broken and start to flee from the battlefield, Boudica's division turns to face the legions flanks.


Well time was up and neither of us had managed to hit our objective. The Roman Leigions had not been broken and despite been close to losing two divisions the Britons has lost only one. 
The Britons suffered to many bad  command rolls when crossing the battlefield and couldn't attack in the mass numbers they required to break the Leigionaires who themselves proved to be very tough and incredibly good with their shields. I enjoyed the game and I had started to fancy my chances of a win in the closing stages of he game but just couldn't quite get the command rolls I required to press home my attack, still facing so many Britons i was pleased with how I faired in the end....

Sunday, 18 August 2013

Skaven v Daemons

After purchasing 20 more plague monks for a rather cheap £8 odd (well painted too) from eBay to boost my unit to a 40 strong horde I decided to use my Skaven against my Dads Daemon army in a 2500pt Warhammer game.We played a straight forward battle line scenario with D6 + 4 random terrain items. Been a Skaven player my hopes weren't to high for success in this game but hey give a rat a machine gun and you never know...........
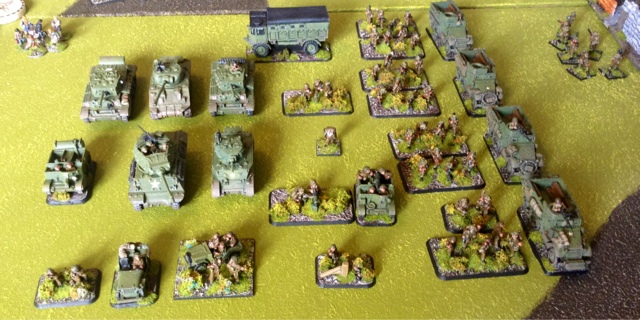
The battlefield at the start of the game,behind the left hand side building is a Hell pit abomination and a unit of Globadiers.


As I said give a rat a machine gun and you never know....well you do as the rattling gun true to form blows up with its first shot mmmmmmmm dare I roll to fire the Warp lightning cannon!


The Bloodletters come crashing into the Clanrats and Warlord and Battle banner with a second unit in support, the Rat Ogres ready to charge the Bloodletters flank if and a big IF the Clanrats hold there ground


The Bloodthirster swooped up onto the hill to meet the Hellpit Abomination who's random movement took it into combat. The Bloodthirster only managed one hit and the Abomination responded with Avalanche of flesh which inflicted five wounds on the Bloodthirster who then failed all its ward saves. The Greater Daemon was vanquished back to some chaotic realm to answer to its Gods.... 


The Plague monks and Furnace  advance towards the Daemonic lines 


The Hell pit Abomination overruns into the plague drones and kills a couple but the Daemons roll well on the stability test and remain in combat while the screamers overrun the Warp lightning cannon thanks to the Skavens poor morale throw, after winning the combat by only one.


A unit of Clanrats enter a wood to find out that's its none to friendly and is indeed a Wild wood


The Warlord and Clanrats break from the combat in the first round losing the battle banner but doing what Skaven do best they out run the Bloodletters giving them a chance to rally next turn. In the following Daemon turn the Bloodletters charged again and this time managed to break the Warlord and Clanrats who fled off the table edge.


The Rat Ogres on seen the Warlord and Clanrats break are over come with rage despite the best efforts of their handlers to restrain them from crashing into the Bloodletters second unit curtsy of been frenzied, the result is swift as the Bloodletters win the combat and catch the fleeing ogres destroying them but at the same time exposing their flank to the freshly reformed plague monk horde.


Keeping in track with the rest of the army the Hell pit loses the combat and flees from the Plague drone, it was the last action it was to take part in as it didn't stop fleeing... Although I can forgive it as it had destroyed the Daemonic Lord after all! However my army was shrinking rapidly by the minute. 


The plague monks hammered into the flank of the Bloodletters causing heavy casualties, however my Dad for the third time this evening rolled three on two dice for his stability test to remain in the fight although the Bloodletters were down to just their Herald.


After leaving the Globadiers to try a pot shot at a unit of Flesh hounds with his Brass orb which you guessed managed to land on top of himself , the Warlock engineer elects to flee away from the Furies only to be caught and die a I would expect, a none to pleasant death?


After 6 turns doing a grand tour of the battlefield the Doomwheel  quite literley rolls into the Screamers who were caught out of position and are destroyed giving the Skaven a little bit more success 


The end of turn 6


Well the Skaven managed to survive until the end of turn 6 which in itself is a victory, this despite misfiring most of the time, and fleeing an awful lot and forgetting to even put on my poisoned wind mortar team when I deployed. Killing the Greater Daemon felt sweet as he tends not to die in our games but the daemons still faired well with out him, especially with the Stability tests they were required to take, the Chaos Gods were kind on this occasion.
However on adding up the points the Daemons won by 172 points which just give them a minor victory...... This however in the eyes of the Skaven is a victory to them and my remaining Plague Priest Hero will return to the Great Skaven  Council of the Thirteen and relay the story of this great victory and how he managed to bring down the mighty Daemon Lord himself while the Warlord had been a coward and fled the battle at the first sign of trouble!!! Until next time

Sunday, 11 August 2013

Take the bridges

On Sunday my dad and I played a 600 point Battlegroup Overlord game. The objective of the game was to capture both bridges over the river and hold them until our agreed finishing time. We started with our reccee on table plus D6 units which were deployed in opposite table quarters from each other. The bridges were separated by a heavily bombed town either side of the river. I played the British and my dad the Germans.

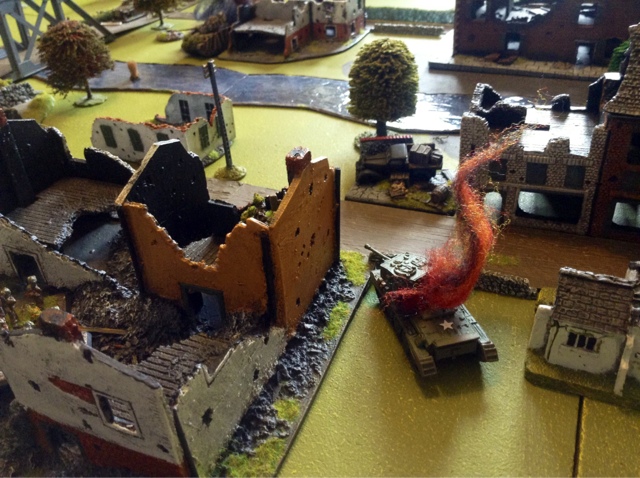
The table before deployment
The British force were,
X 1 Forward HQ with Jeep
X 2 Cromwell's and X 1 Firefly
X 1 M10 
X 1 Wasp
X 1 Motorised Infantry platoon x 1 HMG with Bren carrier x 1 medium mortar, and medic
X 1 Forward HQ with observer
X 1 Sniper
X 2 25pdr off table
X 1 pre registered target point
X 1 M5 
 
The Germans force,
X 3 Panzer IV H 
X 1 Panther
X 1 Supply truck
X 2 81mm mortars
X 2 105mm mortars off table
X 1 forward observer in Kumblewagon 0
X 1 HQ
X 1 SS Panzer Grenadier platoon with combat medic
X 1 Sdkfz 222
The first of the British forces head out down the road to secure the bridge, leading the way is the M5


German half tracks head towards the bridge dismounting a squad of SS rifle men and a MG-38 behind the hedgerows ready to defend the bridge

The HMG dismounts from the bren carrier and takes its position in the house guarding the bridge and with a field of fire across the ruined town. The M5 goes into fire ambush

The M3 half tracks move through the bombed town towards the bridge now held by the Germans, a Cromwell takes its position behind a house.

German reserves flood into the town fronted by a Panther

The lurking Panzer IV over the river comes out on top in a fire fight with the Cromwell

More British tanks brew up as the M5 fails to spot the Panzer IV with its reaction order rolling two 1's leaving the Panzer a free to shoot and a supporting Cromwell on the bridge becomes the first victim of the Panther leaving the bridge very light on defenders

British rifle take cover behind the wall after its transport dismounts them and heads back to the rear

The Panzer IV races towards the British held bridge after the British HMG team was destroyed by mg fire from supporting infantry, however a British piat team had different ideas and with a rush of blood left the cover of the hedgerows to take a single shot finding a week spot in the Panzers armour destroying it! True British Bulldog spirit


The SS troops pinned next to a burning Sdkfz just managing to contest the bridge still despite taking heavy casualties from indirect British artillery support and MG fire

A German SDKFZ Halftrack rushes to the cover of the hedgerows to help defend the bridge amongst the smoke from the burning Sdkfz 222 and Panzer IV both victims of a British 25pdr barrage.


A German Sdkfz half track rushes the bridge and with mg fire forces the piat team to fall back pinned, putting the bridge in controller of the  Germans

What could be around this corner.......the Panther moves through the town centre

British riflemen dismount and move through the cover of the ruined building 

105mm mortar fire slams into the British advance as a direct hit destroys the M10, a M3 Half track  survives to stay on the bridge but the infantry is pinned

After suffering a hit from the Firefly the AP shell only equals the Panthers armour rating forcing it to pass a morale test which it dually does with a 6 allowing it to preform a Beyond the call of duty order......... Needless to say it didn't make the same mistake, shouting for the farther land the Panther, with its return fire easy destroyed the Firelfly leaving all the British armour in flames  

SS infantry dismount from there transport

The Panther heads back towards the supply truck ready to be re armed after running out of British tanks to destroy 

A British observer  looking for targets for the very effective off table artillery support

The battlefield at the end of the final turn

Our decided finishing time was upon us with neither side securing both the bridges. The Germans held one with the other been contested by both sides. If the game had lasted a few more turns we agreed the Germans would have probably have taken both the bridges as all my armour had been destroyed with my right flank looking vulnerable. Fortunately my off table 25pdrs were on song and caused the destruction of 2 Panzer IV's and the Sdkfz 222 during the game and hampered the German infantry which stopped me been over run early doors. My late push to take the steel girder bridge was halted when a salvo of 120mm mortar shells found there target pinning my infantry and destroying the M10 archilies.  Adding up the break points which surprisingly had not thrown up any special chits showed  the British had 28 to the Germans 26 giving the Germans a tactical victory,  The British would have to return at a later date to take these two bridges.....